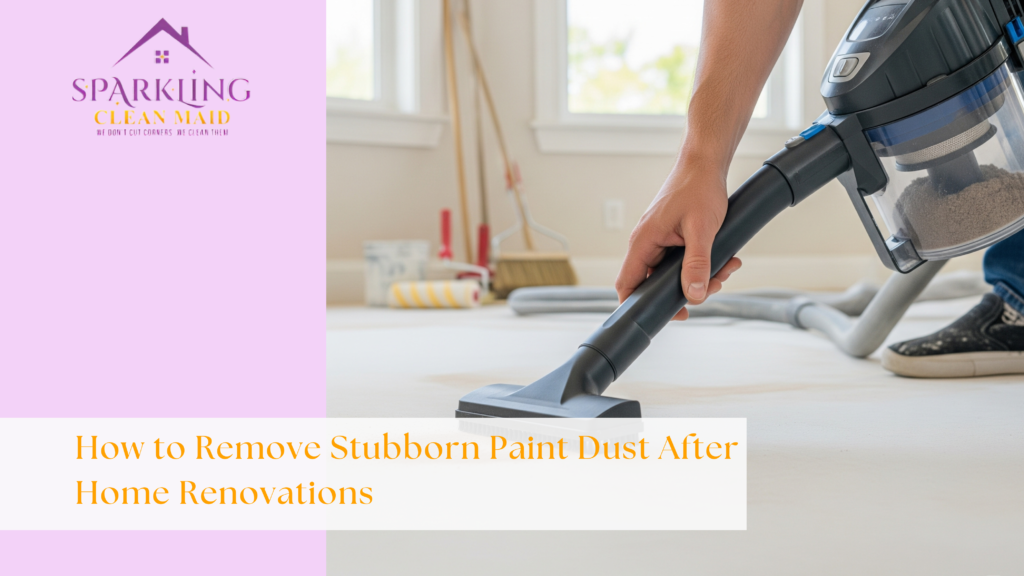
A fresh coat of paint can completely transform your space, but renovations often leave behind a hidden nuisance: fine, stubborn paint dust. If not removed properly, this dust can impact indoor air quality, trigger allergies, and settle on every surface, from light fixtures to fabrics. Here’s a detailed, practical guide to help you clear away paint dust efficiently and safely, leaving your newly renovated home truly clean.
Why Paint Dust Is So Difficult to Remove
Paint dust and other post-renovation debris are made up of ultra-fine particles, often mixed with drywall dust and sanding residue. Unlike everyday household dust, this type can:
- Float in the air longer.
- Settle into cracks, vents, and fabrics.
- Pose health risks if inhaled over time.
Because of this, a quick sweep or vacuum isn’t enough. A targeted, step-by-step cleaning process is key.
Step 1: Start from the Top Down
Dust settles downward, so always begin cleaning from higher surfaces.
Clean ceilings and walls:
- Use a microfiber mop or a dry dusting cloth to gently wipe ceilings and corners.
- For painted walls, lightly dampen a microfiber cloth to remove stubborn dust without damaging the paint.
Light fixtures and fans:
- Remove detachable covers and clean them separately.
- Wipe down blades, bulbs, and vents carefully.
Step 2: Vacuum Slowly and Thoroughly
Use a vacuum with a HEPA filter to prevent fine paint dust from recirculating into the air.
Vacuum tips:
- Move slowly; rushing stirs up dust instead of capturing it.
- Use attachments to clean baseboards, window sills, and vents.
- Vacuum upholstered furniture, curtains, and cushions.
If you have carpets, vacuum them multiple times, changing directions to lift deeply embedded dust.
Step 3: Mop Hard Floors with Care
Once vacuuming is done, mop all hard floors to catch what the vacuum missed.
Best practice:
- Use a slightly damp microfiber mop (not overly wet, as it can smear dust into grout lines).
- Change water frequently to avoid spreading dust.
DIY tip: Add a splash of white vinegar to your mop water for extra cleaning power (safe for most sealed floors).

Step 4: Wipe Every Surface
Paint dust can cling to:
- Cabinets and countertops.
- Window sills and blinds.
- Doors, door frames, and handles.
Use damp microfiber cloths: They capture dust better than dry ones and don’t simply push it around.
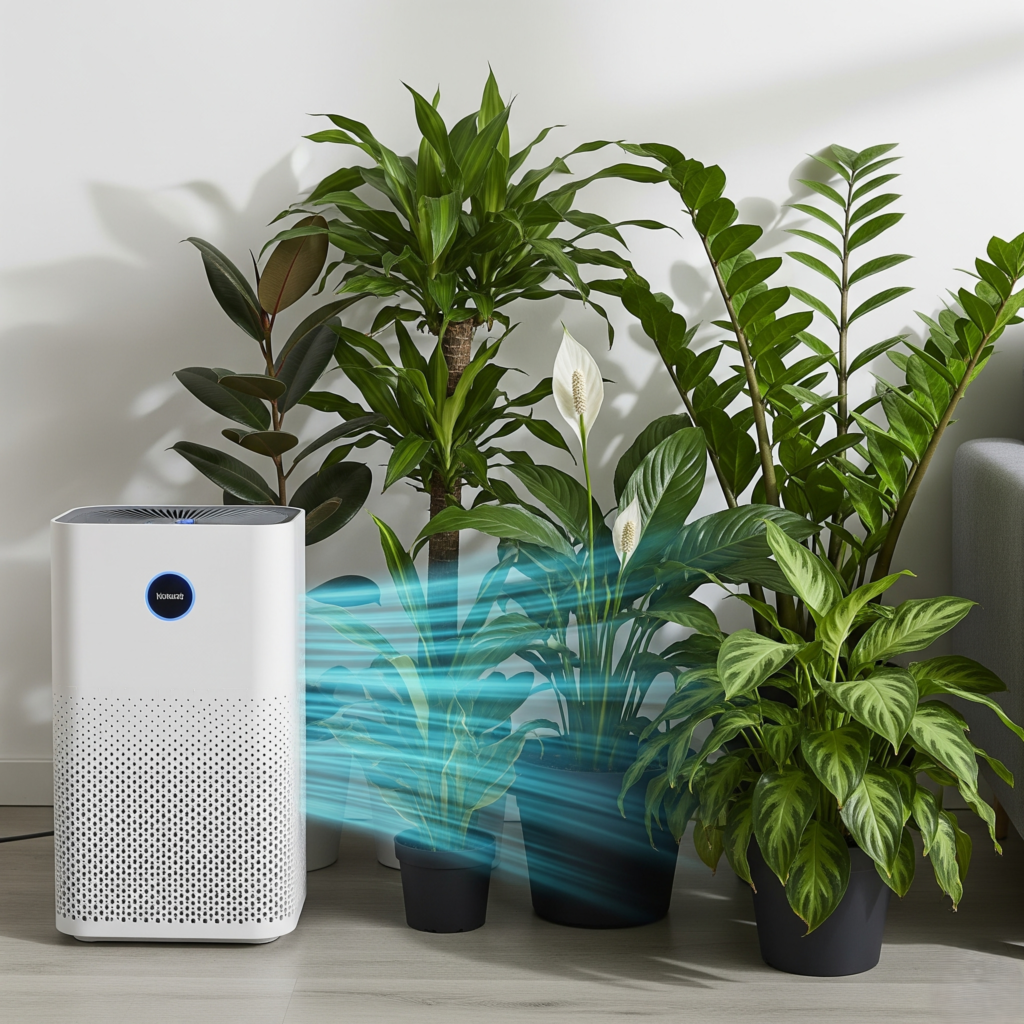
Step 5: Clean Air Vents and Filters
Dust can accumulate in HVAC systems during renovations.
What to do:
- Remove vent covers, wash them with warm soapy water, and let them dry.
- Replace HVAC filters with new ones designed for fine dust capture.
- Consider running an air purifier with a HEPA filter to help remove airborne dust particles over the next few days.
Step 6: Pay Attention to Soft Furnishings
Textiles can trap dust, making the smell of paint linger.
Tips:
- Wash curtains, pillow covers, and bedding.
- Steam clean carpets and upholstered furniture if possible.
- Shake out or launder rugs outdoors.
Step 7: Don’t Forget Hidden Spots
Paint dust often hides in less obvious places:
- Inside closets and drawers (wipe these out).
- Behind appliances and under furniture.
- Window tracks and door thresholds.
Taking time to clean these areas ensures you won’t find leftover dust weeks later.
Extra Tip: Seal Off During Future Projects
For your next renovation, use:
- Plastic sheeting to isolate work areas.
- Doorway zipper barriers.
- Painter’s tape to seal vents temporarily.
These steps reduce the amount of paint dust spreading throughout your home.
Health Considerations
Fine paint dust isn’t just messy; it can cause:
- Respiratory irritation.
- Allergy flare-ups.
- Skin or eye irritation.
Especially in homes with children, seniors, or pets, it’s important to remove it thoroughly rather than just surface-cleaning.
When to Hire Professionals
If:
- Renovations were large-scale.
- You see dust continuously despite cleaning.
- Family members have allergies or respiratory conditions.
…a professional post-construction cleaning service with HEPA vacuums and specialized tools might be the best choice.
Final Thoughts: A Dust-Free Finish
Removing stubborn paint dust after renovations is about thoroughness and patience. By cleaning from top to bottom, using HEPA-filtered vacuums, and washing or wiping every surface, you’ll restore your home’s freshness, protect indoor air quality, and enjoy your beautiful renovation dust-free. Contact us today!