
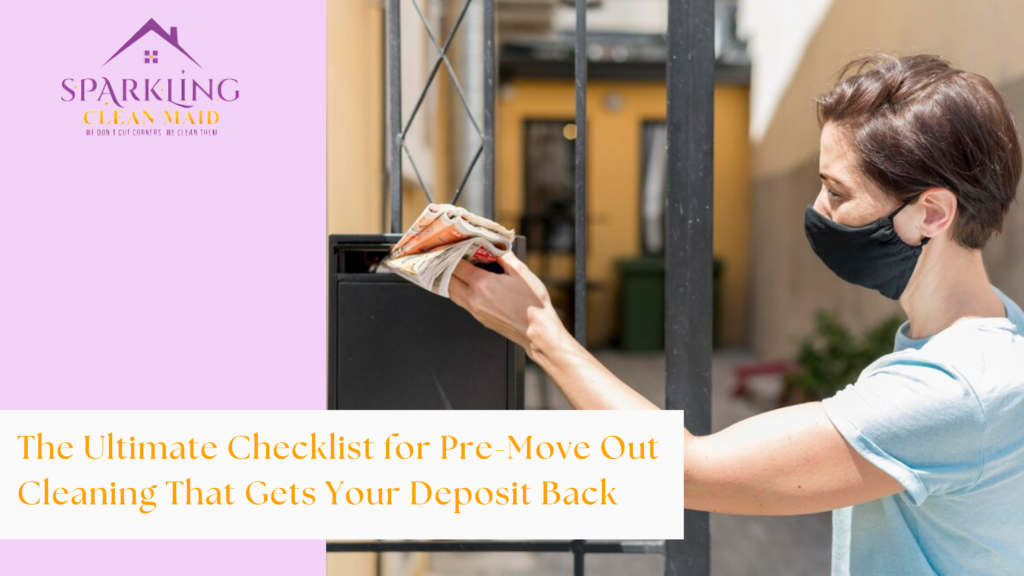
Whether you’re wrapping up a short lease or leaving a long-term rental, thorough cleaning is a key requirement to get your deposit back in full. Below is your ultimate pre-move-out cleaning checklist, packed with tips, room-by-room tasks, and must-do details that landlords love to see.
Why Move-Out Cleaning Matters
Before diving into the checklist, it’s important to understand why move-out cleaning is non-negotiable. Landlords inspect every detail before refunding your deposit. Even minor oversights like dusty vents or water-stained bathroom mirrors could cost you. In many cases, tenants lose hundreds of dollars simply due to poor cleaning.
Essential Tools & Supplies
Start by gathering all the essentials you’ll need for a deep clean:
- Microfiber cloths
- Vacuum cleaner with attachments
- Mop and bucket
- All-purpose cleaner
- Disinfecting wipes or spray
- Oven cleaner
- Glass cleaner
- Baking soda and vinegar (for natural cleaning)
- Trash bags
Room-by-Room Move-Out Cleaning Checklist
Living Room & Common Areas
- Dust and wipe down all surfaces, including baseboards and light fixtures
- Clean the ceiling fan blades and vents
- Wash windows, tracks, and blinds
- Vacuum carpets and rugs thoroughly
- Remove all nails or screws from walls and patch holes
- Mop hardwood or tile flooring
Tip: Take before-and-after photos as proof of cleaning efforts.
Kitchen
- Clean out the fridge and freezer—don’t forget to defrost if needed
- Scrub and disinfect countertops
- Clean inside and outside of all cabinets and drawers
- Degrease the oven, stovetop, and exhaust fan
- Sanitize the sink and garbage disposal
- Mop floors, especially corners and under appliances
Pro Tip: Use a paste of baking soda and water for tough stains on appliances.
Bathroom
- Disinfect the toilet, shower, and tub
- Clean tiles and grout with a mold-fighting cleaner
- Polish mirrors and fixtures
- Empty and wipe out cabinets and drawers
- Scrub and sanitize sinks and counters
- Mop floors and remove hair buildup from drains
Bedrooms
- Remove all personal belongings and trash
- Dust shelves, blinds, and fan blades
- Clean windows and window sills
- Vacuum the carpet and edges where dust collects
- Wipe down closet interiors
Utility & Laundry Area
- Clean out the washer and dryer lint traps
- Wipe down appliances
- Sweep and mop the floor
- Clear out shelves or storage bins
Final Touches That Make a Difference
- Replace any burnt-out light bulbs
- Empty and sanitize trash cans
- Double-check walls for scuff marks and gently scrub them
- Make sure the property smells fresh—consider placing a neutral air freshener
Should You Hire a Professional Cleaning Service?
If time is short or your landlord is particularly strict, hiring a professional move-out cleaning service can be a smart investment. Professionals know exactly what landlords look for and often guarantee satisfaction.
Hiring a pro not only saves time but may also increase your chances of getting 100% of your deposit back.
Final Walkthrough Tips
- Conduct your own inspection before the landlord does
- Use your cleaning checklist to guide a room-by-room walkthrough
- Fix minor damages that are cheap and easy to repair
- Keep all receipts, especially if you hired a cleaning service
Conclusion
Leaving your rental spotless is your best bet at recovering your full deposit. By using this comprehensive pre-move-out cleaning checklist, you can leave a good impression, stay stress-free, and avoid surprise charges. And remember—cleaning is cheaper than losing a deposit!


One Response